Here is the walk through for installing the New South boost gauge with the steering column mount on your B6 Passat.
First off, we want to route the line for the gauge.
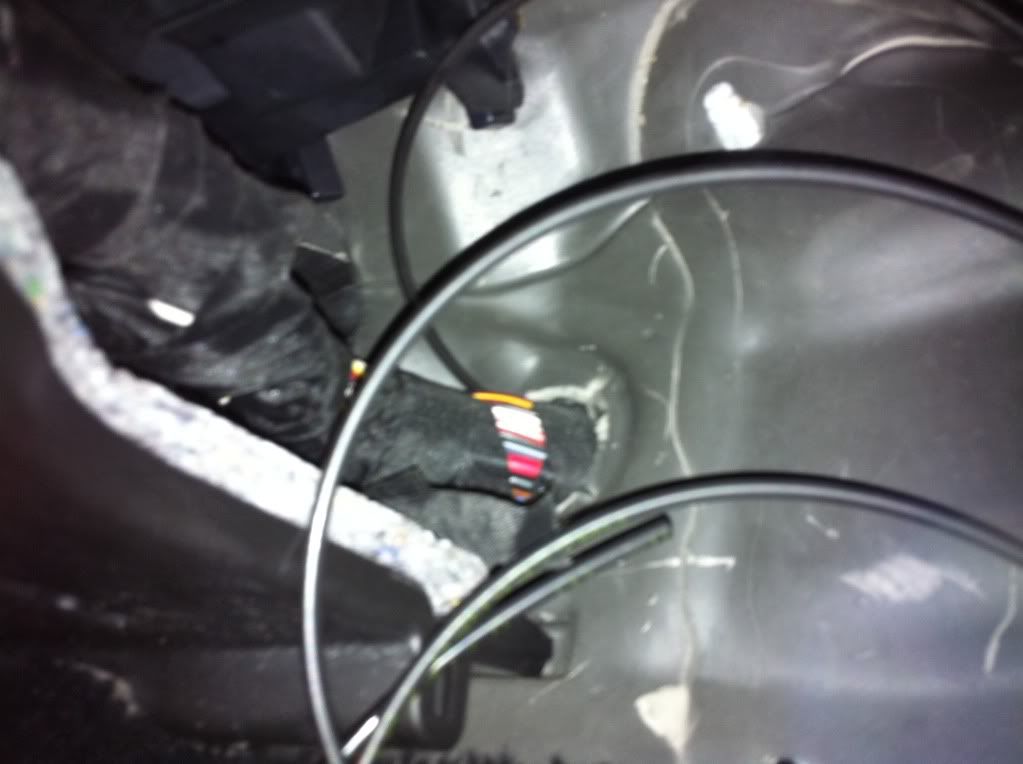
We want to do this through where the wiring harness passes through the firewall.
![Image]()
Do this by using a 6in piece of straight coat hanger, and pushing the line over the wire.
Have a friend (or yourself) take another piece of coat hanger and form a hook.
Use this hook to grab the wire, and pull it through.
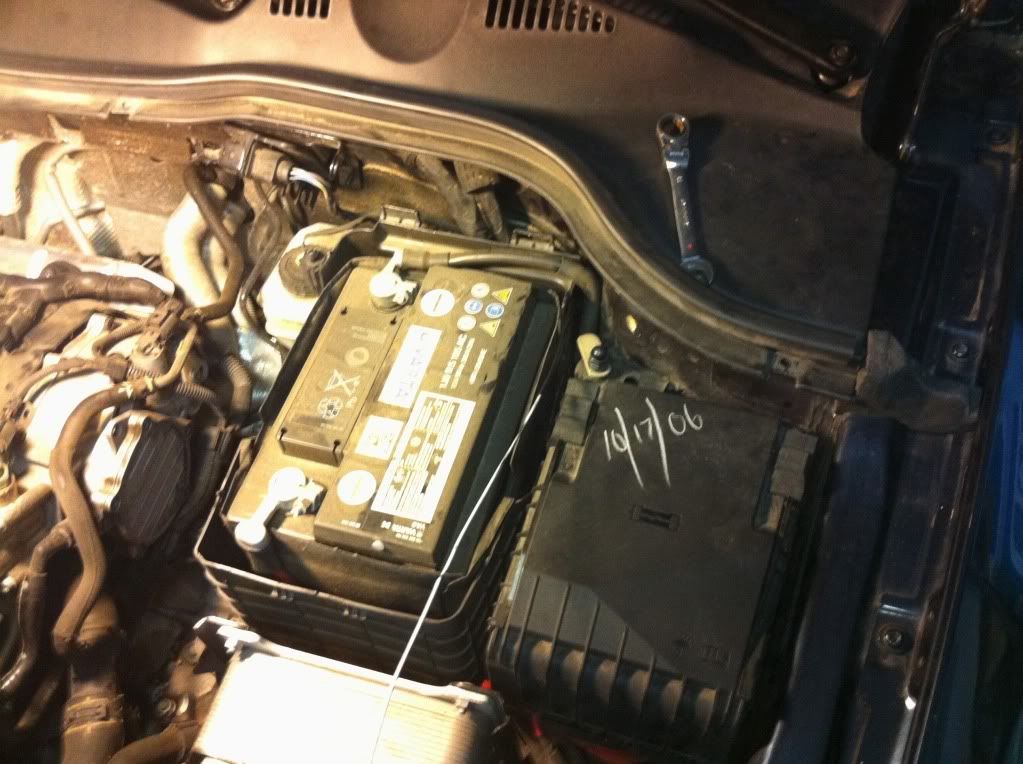
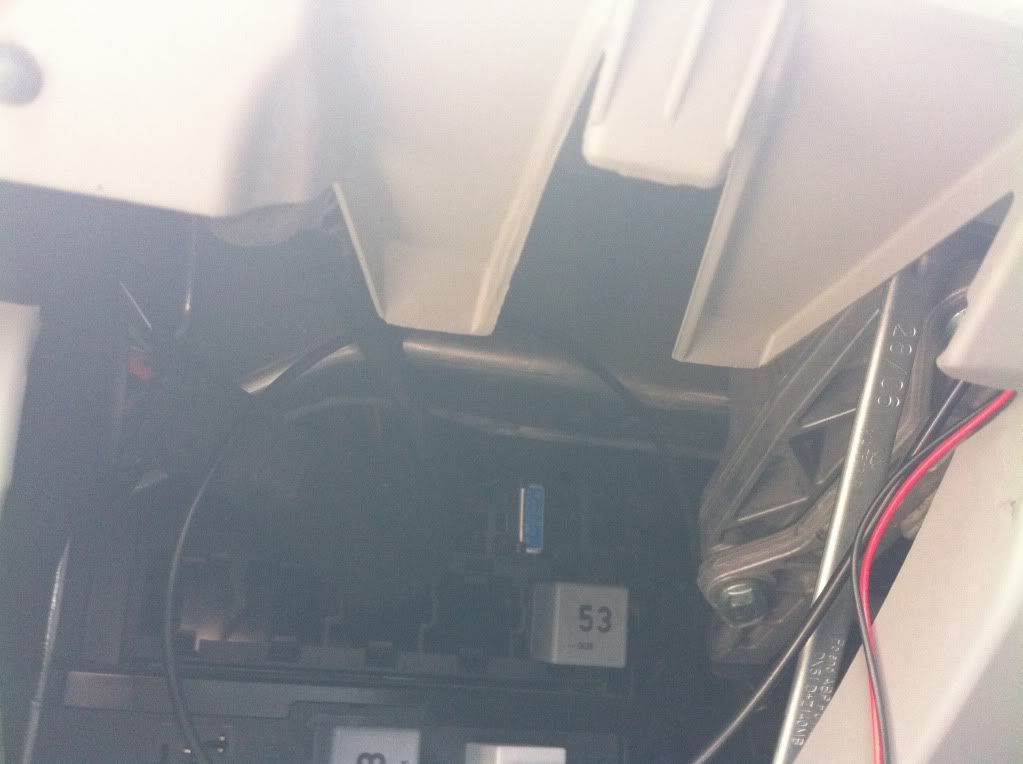
It will appear between the battery box, and fuse box.
Like so..
![Image]()
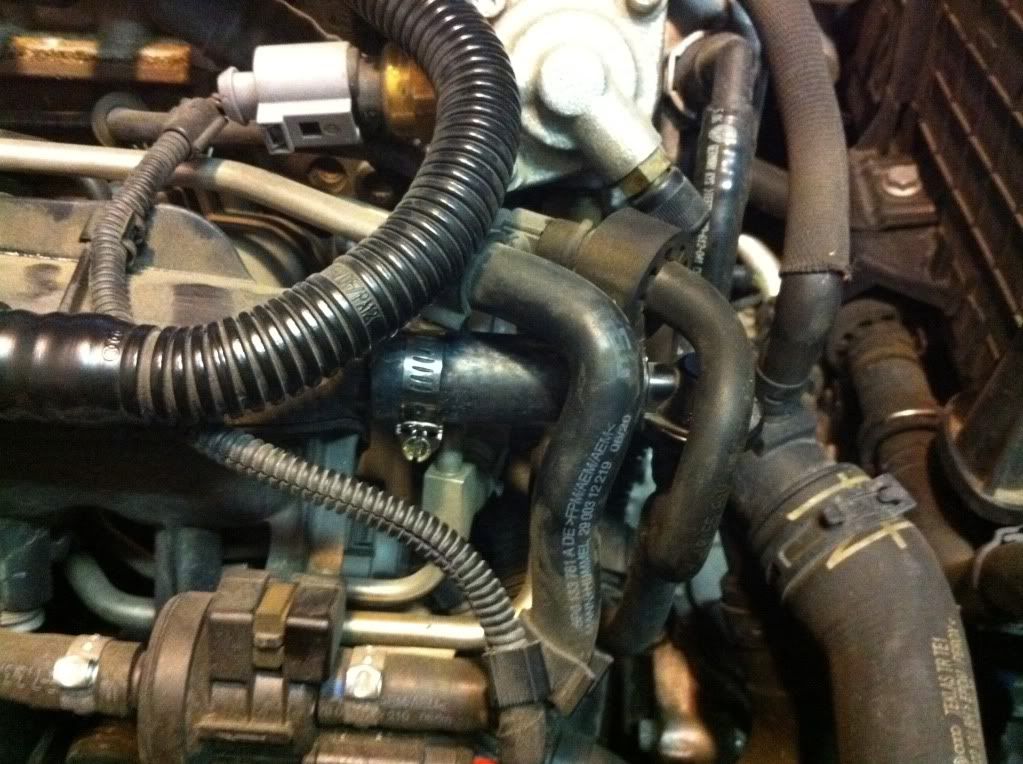
Next step is to remove the engine cover, and gain access to the main vacuum line coming off of the intake manifold.
Its the one with the hose clamps on it. The stock clamps are pinch type. Ditch them, and replace the stock hose, with the 'no-buzz' fitting.
![Image]()
Remember to not put ANY pressure on the nipple itself.
Route your gauge line to the nipple and use the included vacuum line to attach the two together.
Your done here.
Re-install your engine cover, and close your hood.
Wash your hands, and grab a soda and smoke.
Now we move to the inside.
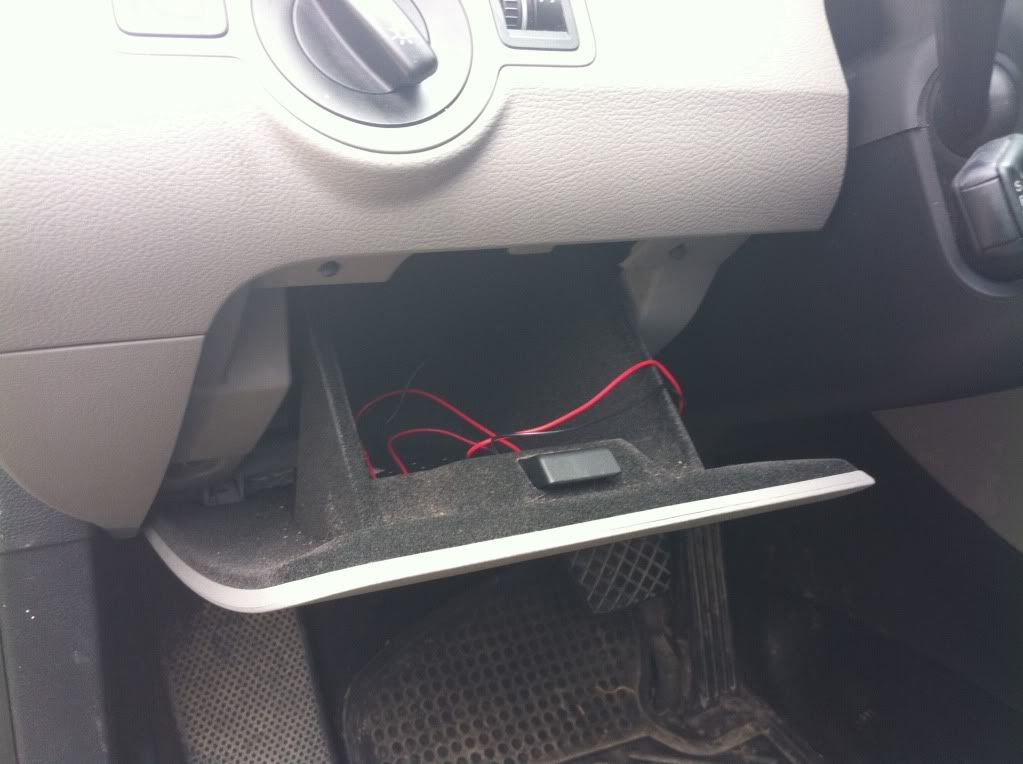
Open the storage compartment by your left knee.
![Image]()
Push on the two tabs to enable it to open fully, and reveal the inside of the dash.
![Image]()
This will allow you to route the vacuum line for the gauge up to the steering column, as well as provide better access to the back of the dimmer switch.
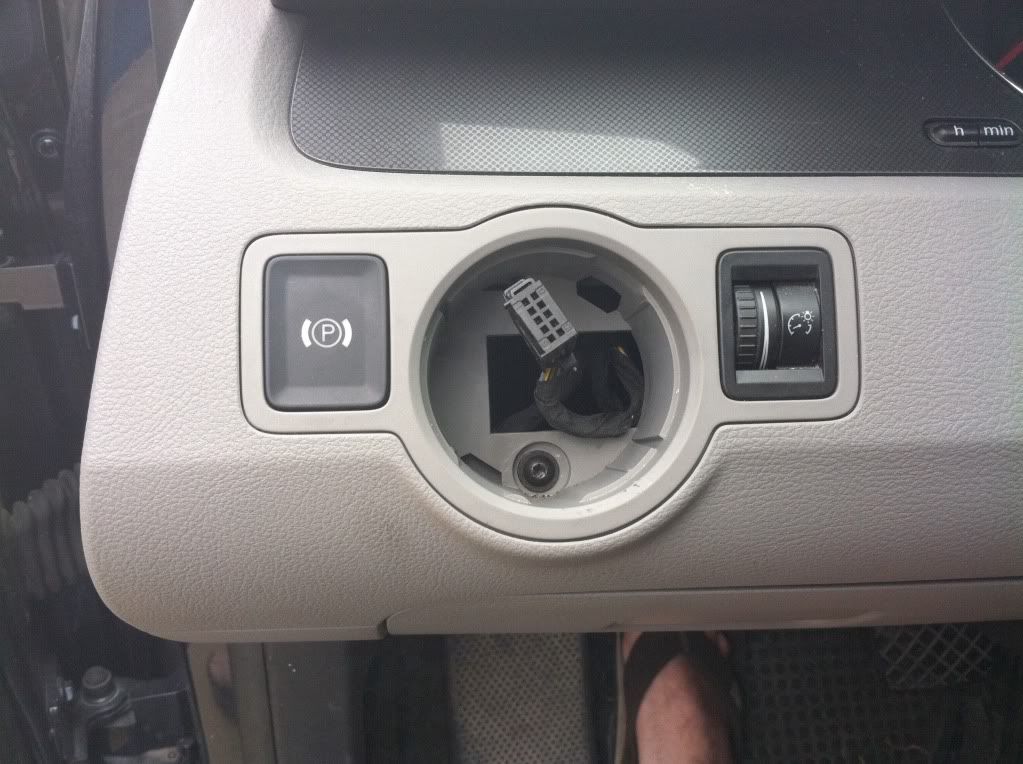
Take out the headlight switch (push and rotate to the ON position, then pull)
Remember to turn the switch to OFF before unplugging it.
![Image]()
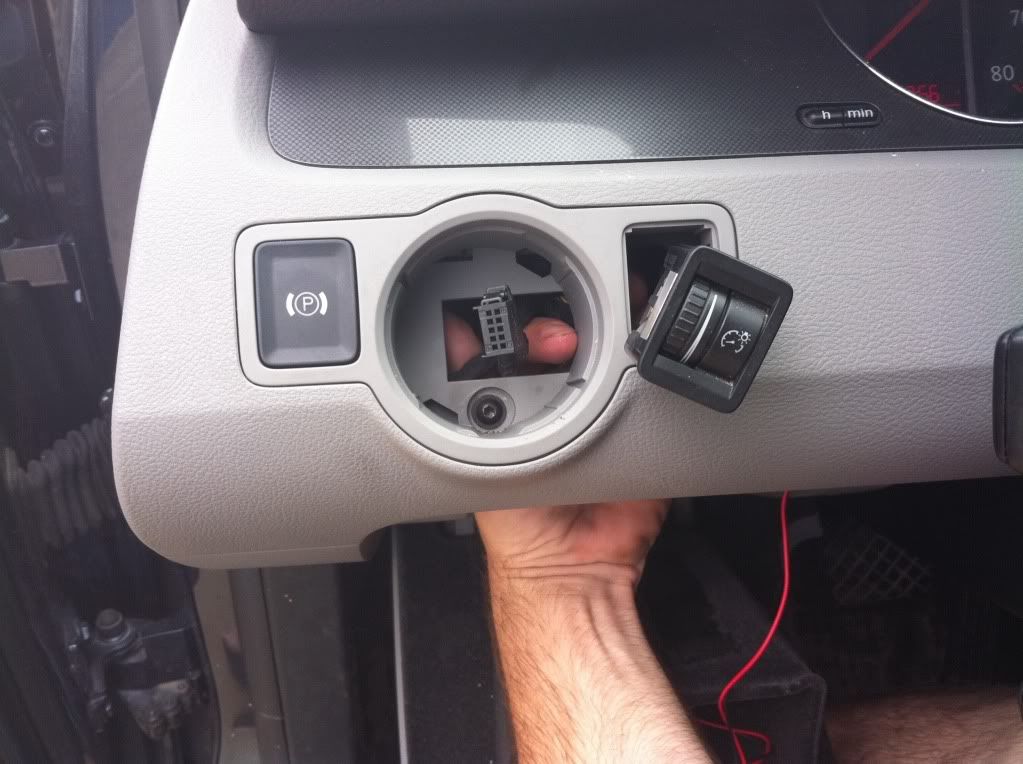
Now time to pop out the dimmer switch.
Reach back through that access, and push firmly on the back of the dimmer switch. It will pop out of the dash, and now you can unplug it.
![Image]()
The directions say to hook the red wire to the dimmer switch, and the black to a chassis ground.
We are looking for a solid gray wire, and a brown wire with a black stripe.
Connect the red to the gray, and the black to the brown/black.
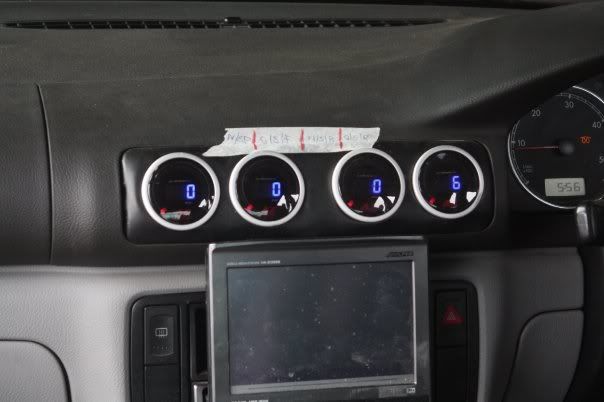
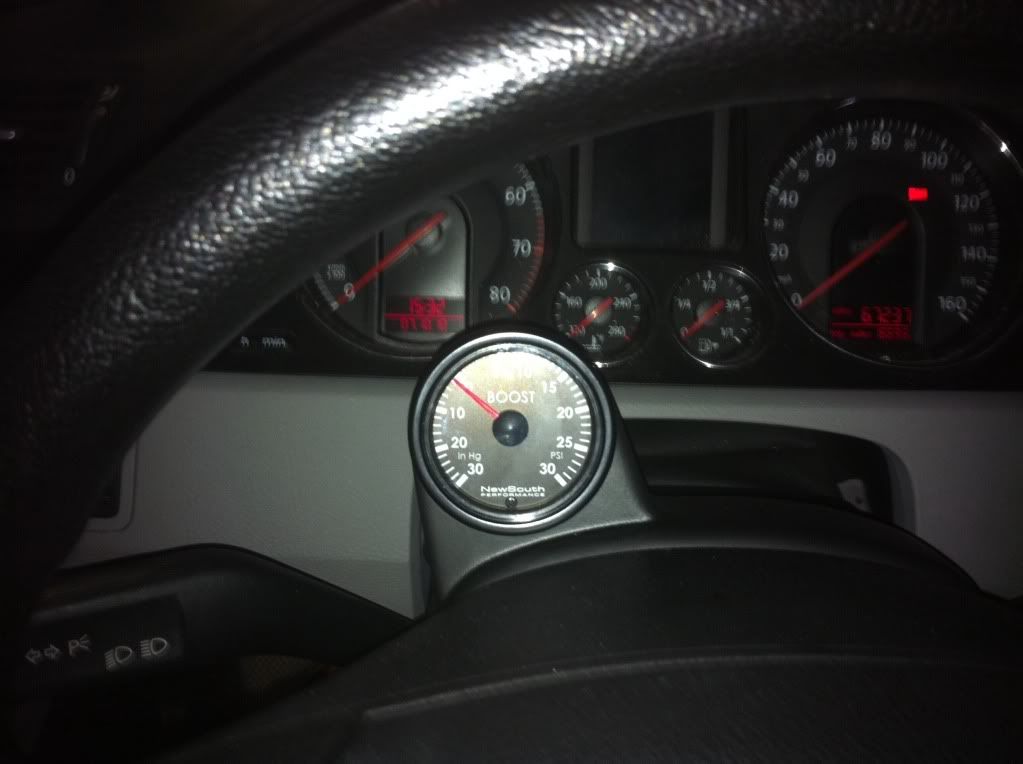
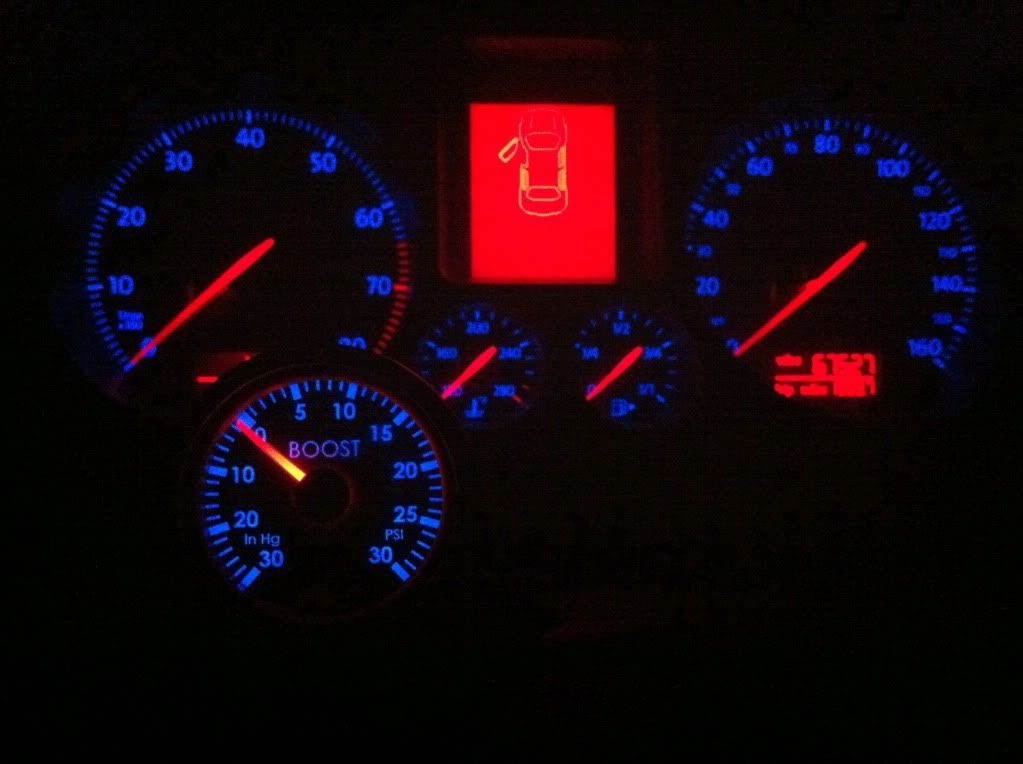
All you need to do now is route your wiring, and vacuum line up to the skirt on the steering column.
Follow the directions included in the kit for connecting the line to the gauge, and mounting the pod on the column.
![Image]()
![Image]()
Clean up, and go for a test drive. :thumbup:
First off, we want to route the line for the gauge.
We want to do this through where the wiring harness passes through the firewall.
Do this by using a 6in piece of straight coat hanger, and pushing the line over the wire.
Have a friend (or yourself) take another piece of coat hanger and form a hook.
Use this hook to grab the wire, and pull it through.
It will appear between the battery box, and fuse box.
Like so..
Next step is to remove the engine cover, and gain access to the main vacuum line coming off of the intake manifold.
Its the one with the hose clamps on it. The stock clamps are pinch type. Ditch them, and replace the stock hose, with the 'no-buzz' fitting.
Remember to not put ANY pressure on the nipple itself.
Route your gauge line to the nipple and use the included vacuum line to attach the two together.
Your done here.
Re-install your engine cover, and close your hood.
Wash your hands, and grab a soda and smoke.
Now we move to the inside.
Open the storage compartment by your left knee.
Push on the two tabs to enable it to open fully, and reveal the inside of the dash.
This will allow you to route the vacuum line for the gauge up to the steering column, as well as provide better access to the back of the dimmer switch.
Take out the headlight switch (push and rotate to the ON position, then pull)
Remember to turn the switch to OFF before unplugging it.
Now time to pop out the dimmer switch.
Reach back through that access, and push firmly on the back of the dimmer switch. It will pop out of the dash, and now you can unplug it.
The directions say to hook the red wire to the dimmer switch, and the black to a chassis ground.
We are looking for a solid gray wire, and a brown wire with a black stripe.
Connect the red to the gray, and the black to the brown/black.
All you need to do now is route your wiring, and vacuum line up to the skirt on the steering column.
Follow the directions included in the kit for connecting the line to the gauge, and mounting the pod on the column.
Clean up, and go for a test drive. :thumbup: