I spent about an hour disassembling the Lucas rear calipers and carriers I picked yesterday. The seals are actually in very good condition, but I need to media blast the calipers to get them clean enough to refinish. Pleasant surprise, the calipers themselves appear to be aluminum. I will photo them later tonight. I thought I would start my step-by-step now with a little prelude traipse through piston removal.
:wrench:
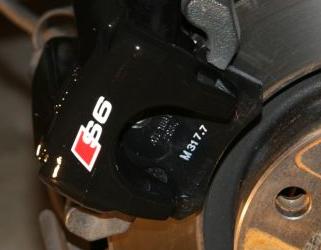
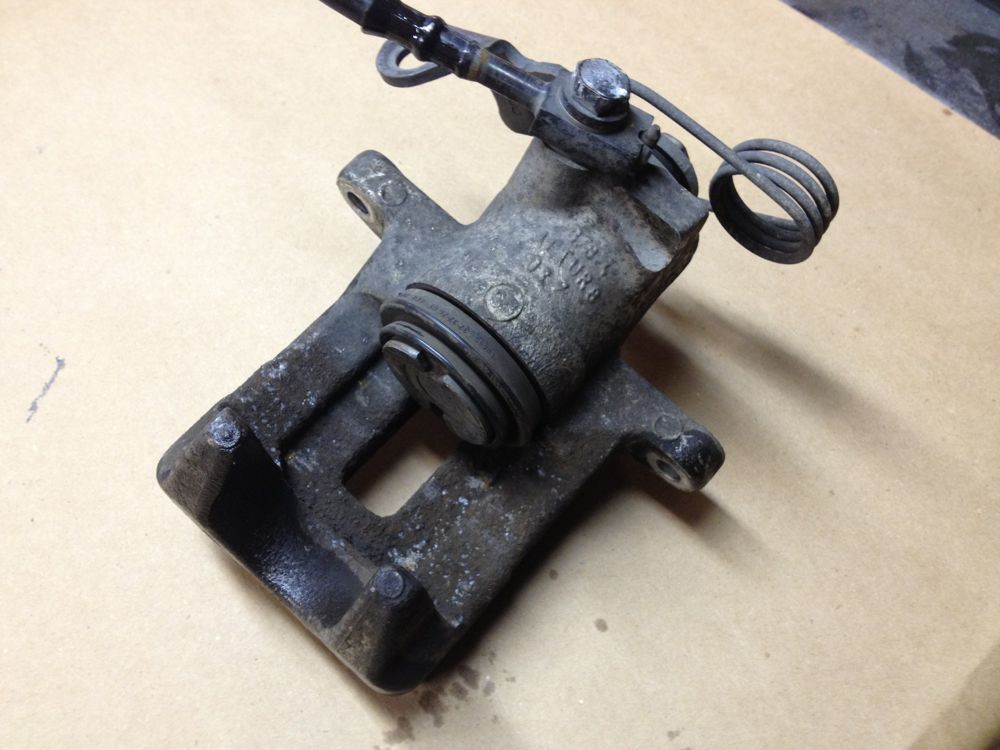
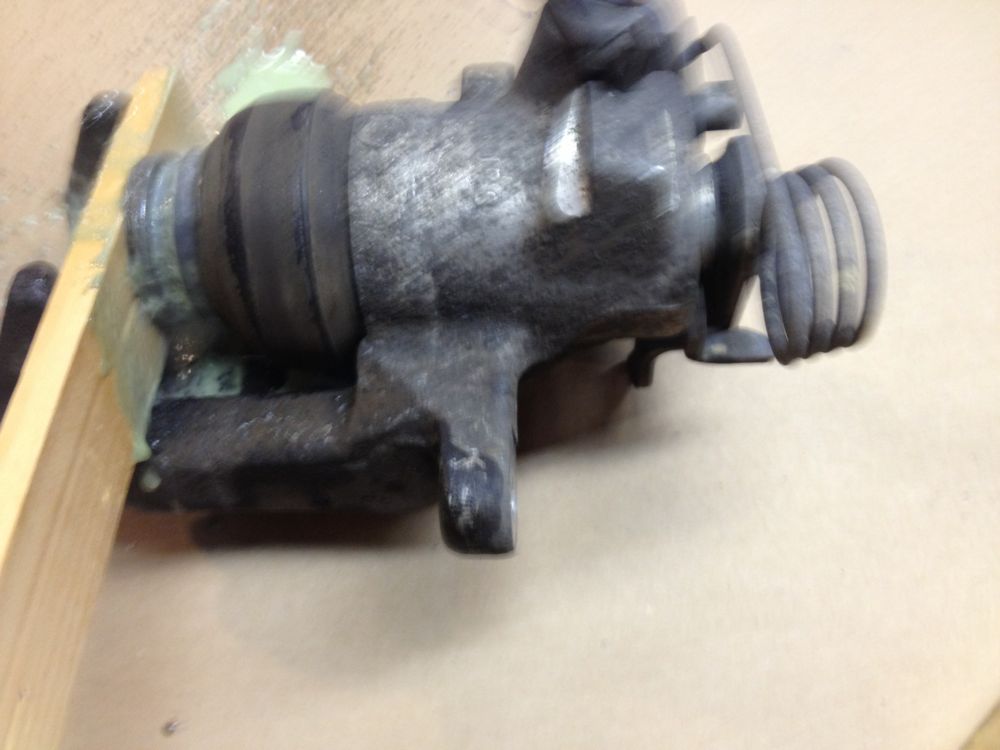
Some before shots:
![Image]()
They are a little dirty:
![Image]()
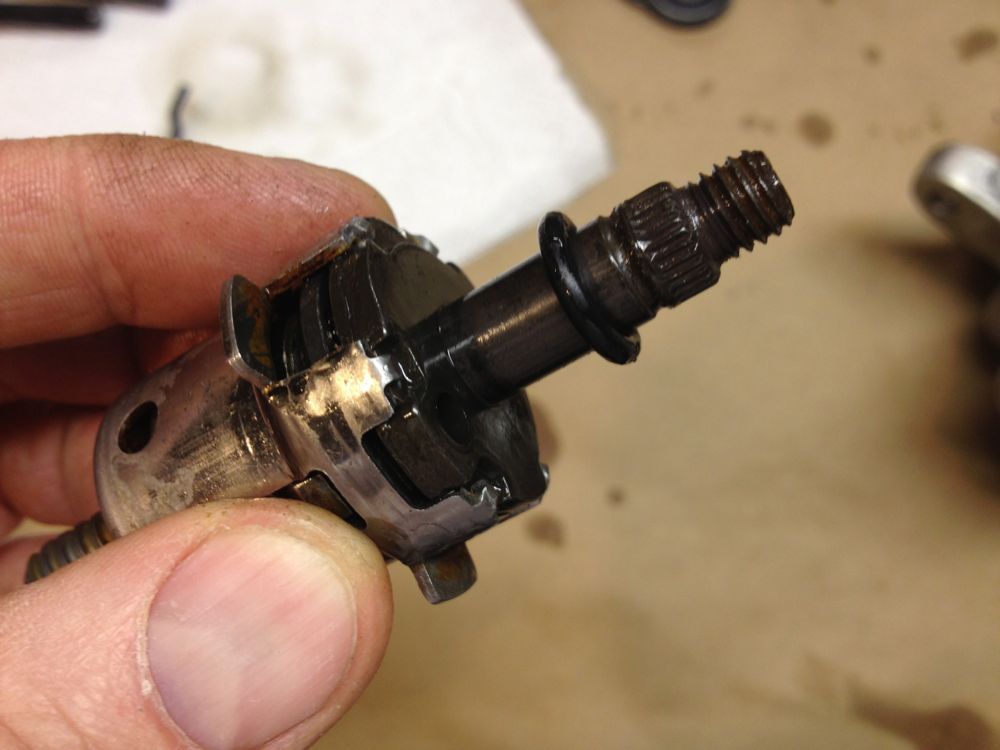
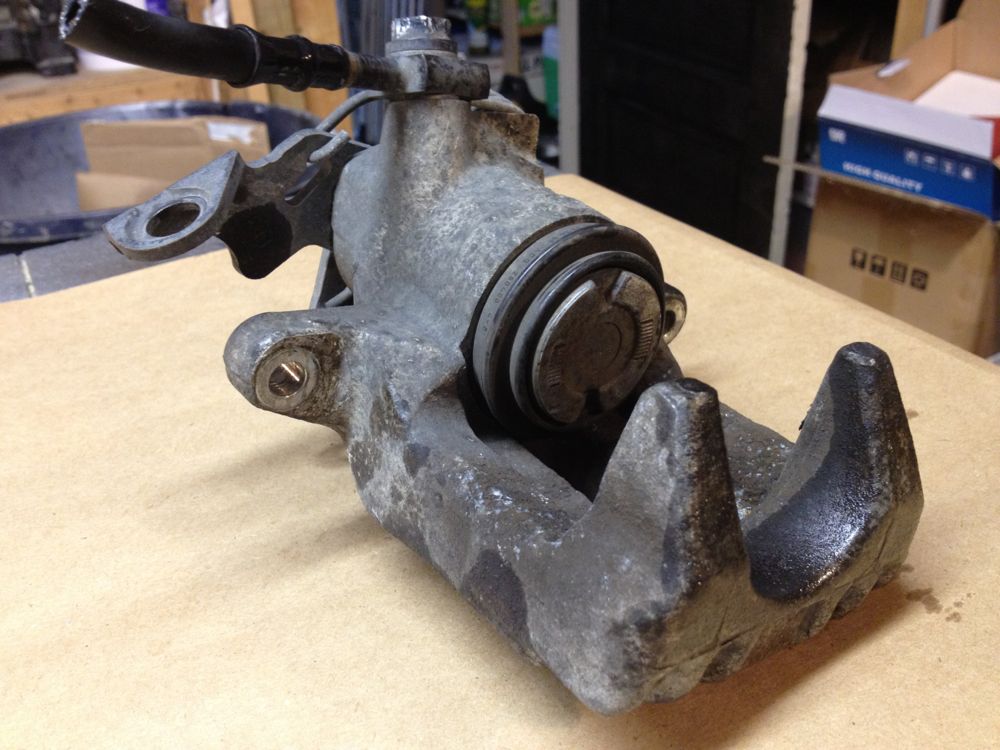
Ok, a lot dirty:
![Image]()
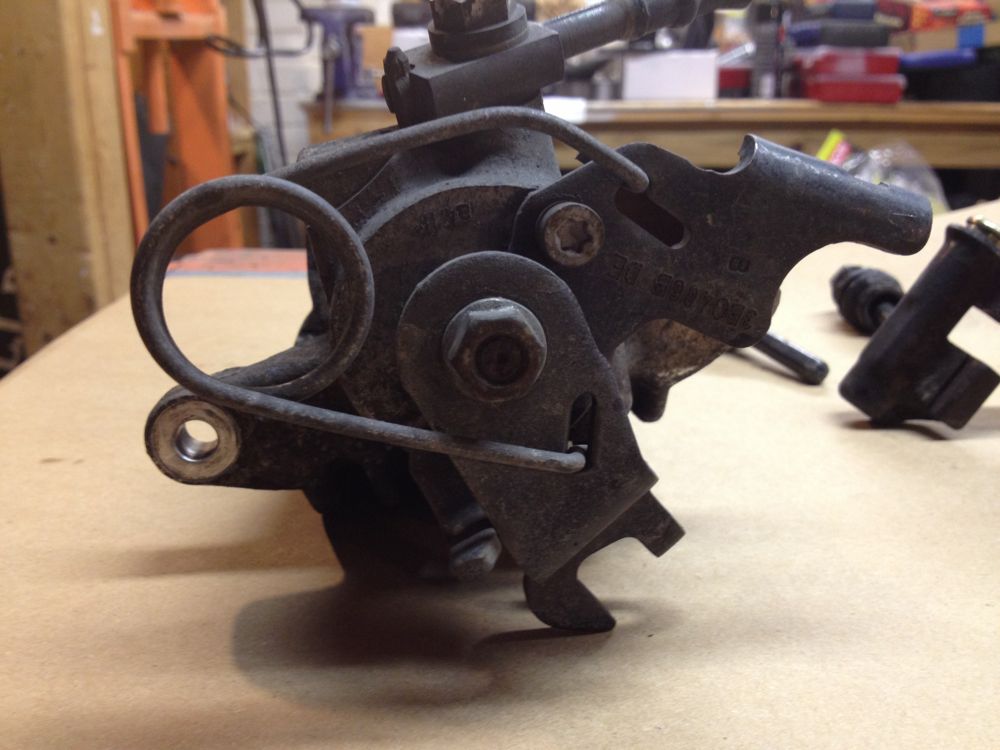
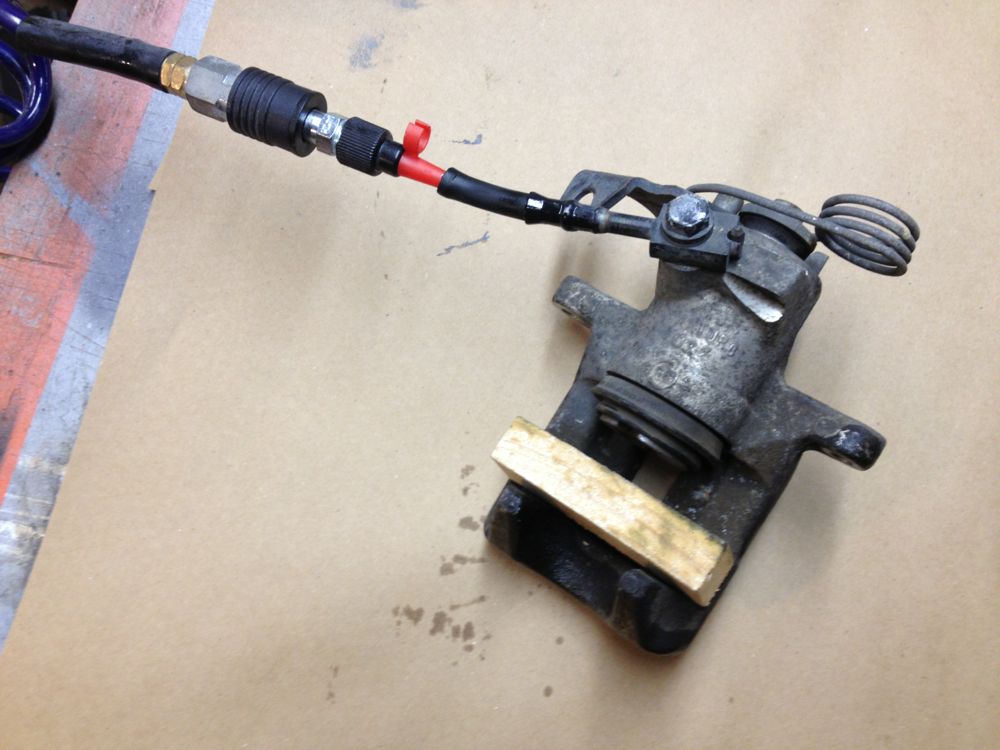
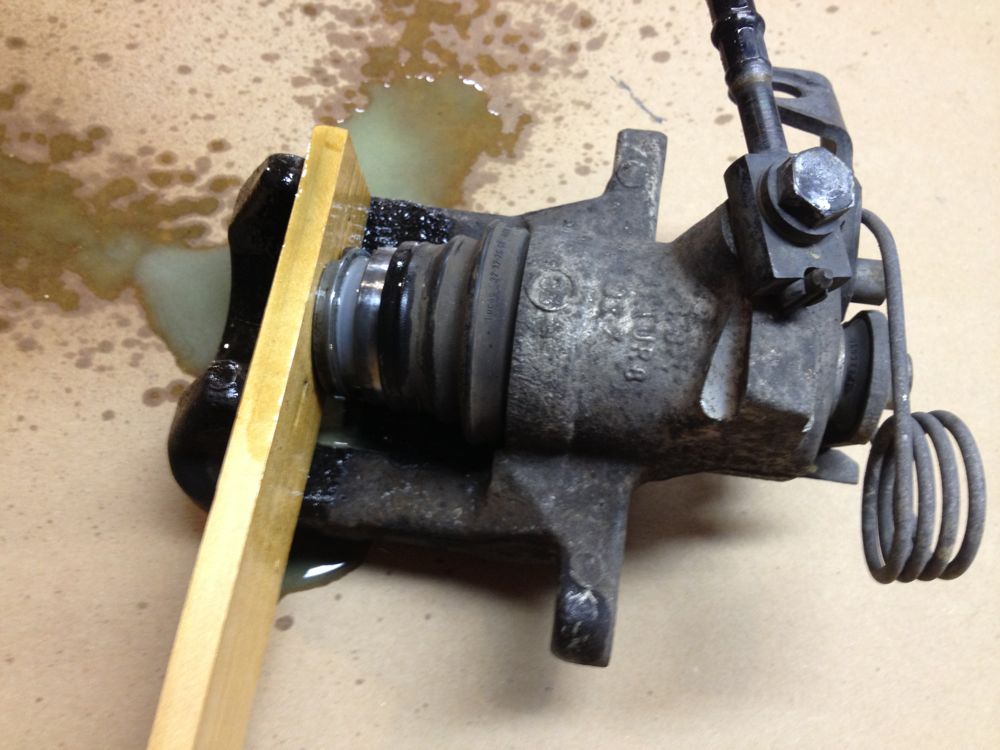
So to remove the piston, you can do it on the car using hydraulic pressure through the brake system, or you can use compressed air. Since mine were already on the bench, I hooked one up to the little trim nailer compressor I have through a pigtail of severed brake line and held my breath for a few moments.
![Image]()
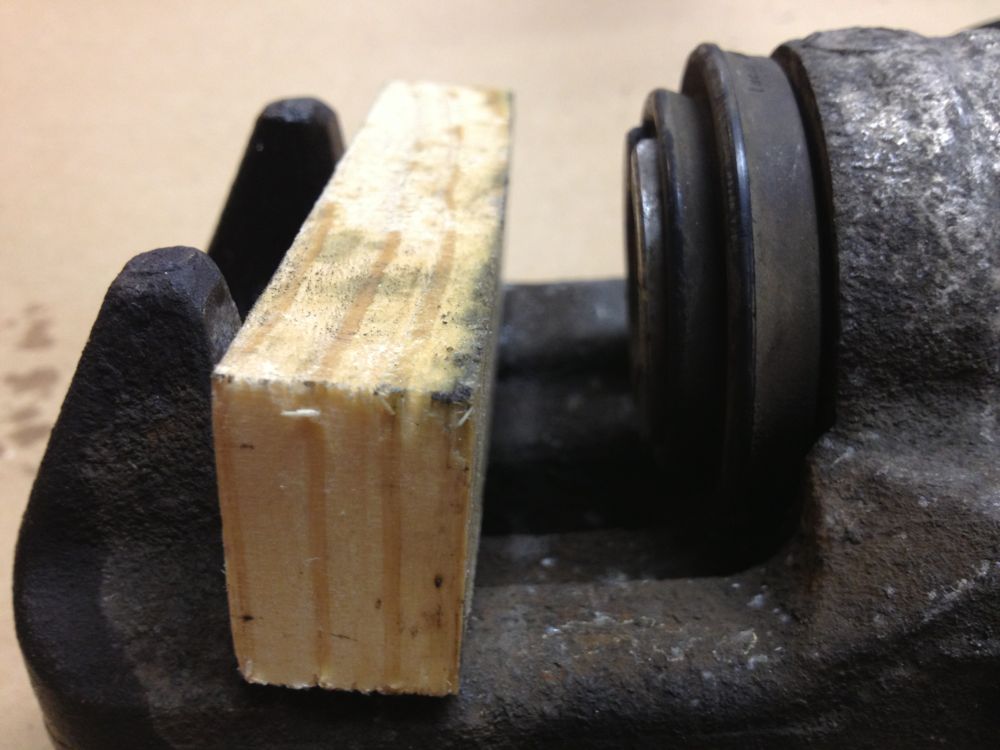
Nothing happened for several minutes while the compressor pressure built up. Per the instructions I was following, I put a block of wood to keep the piston from becoming a projectile.
![Image]()
This photo was such a happy accident. I was waiting for the piston to move and it did eventually, then "POW!" that bugger came out with a bang. Since I shot this with my iPhone, it is a total coinky-dink that my shutter caught the actual piston release. Pressure needed to remove the piston ended up being about 85 psi.
![Image]()
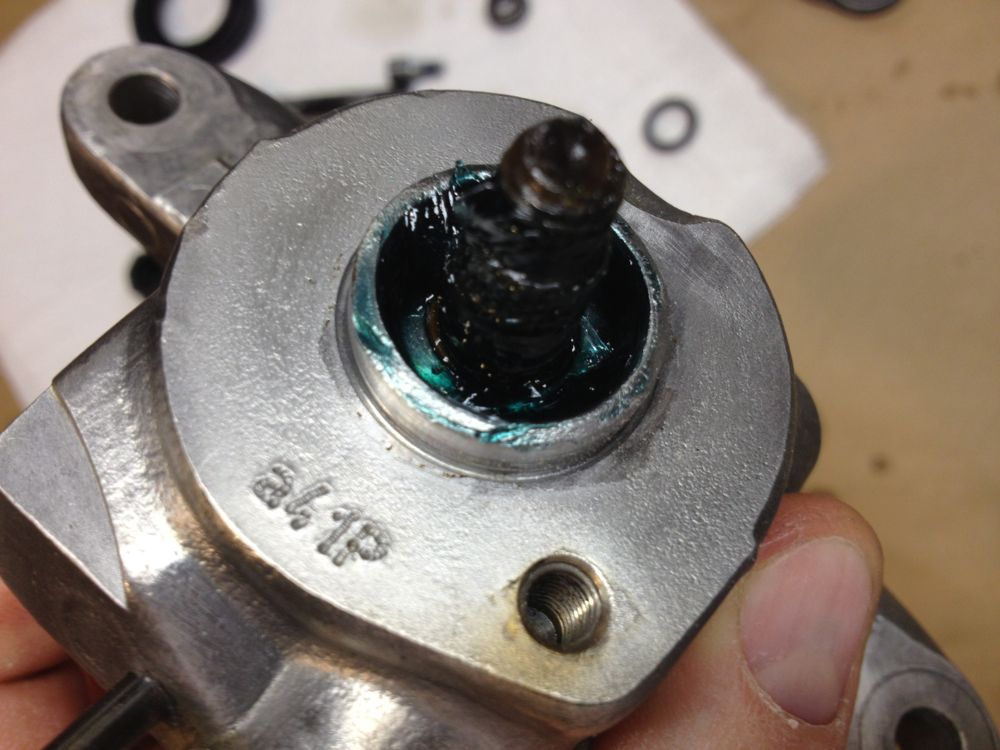
Once the piston was released, the remaining brake fluid dribbled out as the piston cleared the inner seal:
![Image]()
More step-by-step later. I have to get both of these stripped to drop them at the powder coater tomorrow for media blasting before I meet Pete (B-5) for coffee and timing belt change prep. :thumbup:
:wrench:
Some before shots:
They are a little dirty:
Ok, a lot dirty:
So to remove the piston, you can do it on the car using hydraulic pressure through the brake system, or you can use compressed air. Since mine were already on the bench, I hooked one up to the little trim nailer compressor I have through a pigtail of severed brake line and held my breath for a few moments.
Nothing happened for several minutes while the compressor pressure built up. Per the instructions I was following, I put a block of wood to keep the piston from becoming a projectile.
This photo was such a happy accident. I was waiting for the piston to move and it did eventually, then "POW!" that bugger came out with a bang. Since I shot this with my iPhone, it is a total coinky-dink that my shutter caught the actual piston release. Pressure needed to remove the piston ended up being about 85 psi.
Once the piston was released, the remaining brake fluid dribbled out as the piston cleared the inner seal:
More step-by-step later. I have to get both of these stripped to drop them at the powder coater tomorrow for media blasting before I meet Pete (B-5) for coffee and timing belt change prep. :thumbup:
")